Profit-Taker, explained by its one rule
Checked against Warframe 2026.08.19
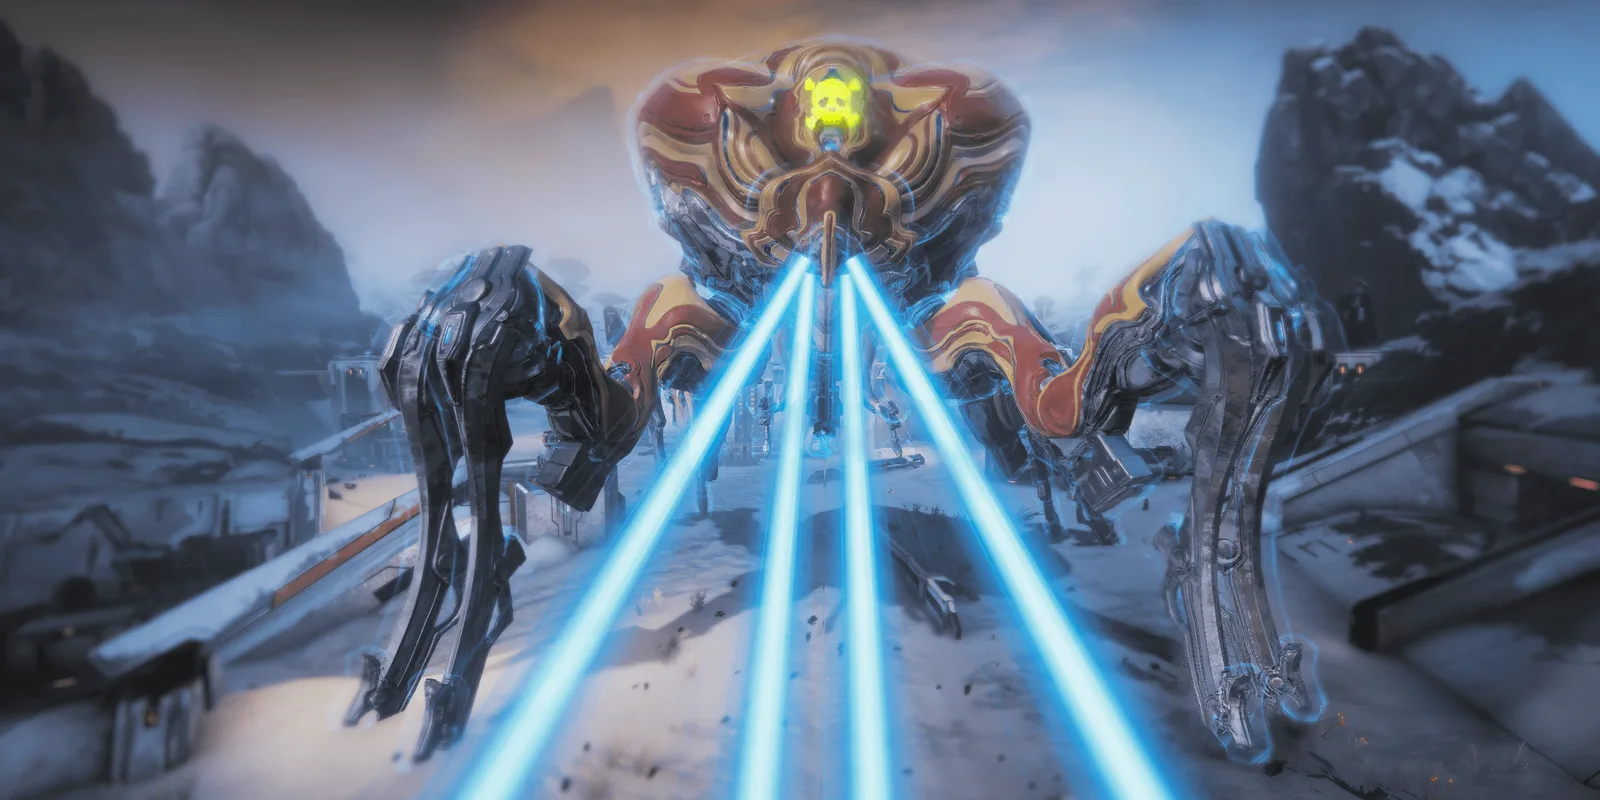
The Orb Mother fight makes sense the moment you understand why you can only hurt it with one element at a time. The phase loop, what each phase wants, and the loadout that covers all of them.
Most people meet the Profit-Taker as a wall. You unload into it, nothing happens, and it is not obvious why — the numbers that usually tell you whether a build is working simply stop appearing.
That is not a bug and it is not a damage check. It is the fight’s one rule, and everything else follows from it.
The rule
The Orb only takes damage from one element at a time, and it picks which one.
Its shield cycles through elemental resistances. While the cycle is sitting on Heat, a Heat source hurts it and nothing else does. When the cycle moves on, your Heat weapon becomes useless and whatever matches the new element becomes the only thing in your arsenal that works.
Once you know that, the whole loadout question changes shape. You are not looking for a weapon that does a lot of damage. You are looking for a set of sources that between them cover every element the Orb can ask for, and a way to swap between them faster than the cycle moves.
That is the entire puzzle. The rest of this guide is how people solve it.
Before you go
Two gates, and neither is optional:
- Rank up with Solaris United. The fight is theirs to give you.
- Finish the first three heist phases. Profit-Taker is the fourth. It does not appear on its own.
The phase loop
The fight is three kinds of phase, repeated in a fixed order rather than at random:
shield → armour → pylon → armour → shield → armour → pylon → shield → armour → doneKnowing the order matters more than it sounds. It means you can prepare the next phase during the current one instead of reacting to it — you know a pylon phase is coming before it arrives, and you know which side of it you will be on.
The shield phase
This is where the one rule bites. The Orb’s shield sits on an element; you break it with that element and no other. Then it moves.
The practical consequence is that a shield phase is a swapping exercise, not a shooting one. The people who do this fight quickly are not out-damaging it — they are switching sources without pausing.
The armour phase
The shield comes down, the armour comes up, and the elemental restriction relaxes. This is the window where ordinary damage works and where the fight actually advances. Everything you did in the shield phase was to reach this one.
The pylon phase
The Orb tethers itself to pylons scattered around the arena and becomes untouchable until they are down. This is a positioning and travel problem, not a damage problem: the pylons are far apart, they are shielded, and the clock is running.
A weapon that reaches inside the pylon’s bubble without needing punch-through turns this phase from a lap of the valley into a few seconds. That is the reason the loadout below looks the way it does.
The loadout, and why each piece is there
Every slot on this list exists to cover elements the others cannot. That is the whole design brief.
- Chroma — Vex Armor is an additive damage buff, which is what makes a set of otherwise ordinary weapons hit hard enough. Its Effigy also doubles the credits you pick up near it, which is why people run this fight at all.
- Shock Trooper, subsumed onto the frame — this is how Electric gets covered without spending a weapon slot on it. Every ability the Helminth can graft on is on its own page if you want to see what else fits there.
- Kuva Ogris with Nightwatch Napalm — the pylon answer. The augment’s spread reaches inside the bubble, so a pylon usually goes down in one shot rather than a repositioning exercise.
- Sicarus Prime with its Incarnon adapter — a secondary that hits hard enough to carry several elements on its own.
- A Zaw with Exodia Contagion — the piece that breaks the swapping problem. A thrown Contagion projectile keeps travelling while you are already firing something else, which is how one player covers two elements at once. A Balla strike is the usual choice because it throws at the start of the animation rather than the end.
- An archgun — Mausolon in hand or Corvas on a mech. Neither has a page here: the dataset this site is built from carries primaries, secondaries and melees, and archguns are not in it. Naming them without linking them is the honest version of that gap.
What the set covers, and what it does not
Between the weapons above and the subsumed ability, a full kit reaches Viral, Heat, Magnetic, Radiation, Gas, Cold, Blast, Corrosive and Electric.
Toxin is the hole. There is no slot left to put it in without giving up something that matters more. That is a known compromise in every version of this loadout, not an oversight in this one — and it is worth saying plainly, because a guide that lists nine elements and lets you assume ten will cost you a phase.
Arcanes and shards
Arcane Velocity is the one people treat as mandatory; Guardian, Grace and Nullifier are the usual support choices around it. On the shard side, red shards for strength and duration and an amber for starting energy are the common split.
Neither of those is a number this site computes. Arcanes are printed on a build and not counted, because most of them only pay out under a condition, and the same goes for the shard bonuses the engine cannot model. Our planner will show you the capacity, the drain and the polarity exactly; it will not pretend to know what Grace is worth in a fight it cannot see.
Two settings that are not about damage
The Orb’s arena is bright and loud, and a lot of what kills people here is not being able to see. Dropping the graphics preset, halving effects intensity and turning screen shake off are common preparations. They change nothing about your build and a great deal about whether you can read the fight.
Where this comes from
The mechanics above are the community’s, not ours. The phase order, the loadout and the element coverage follow the profit-taker.com TL;DR, which is the reference most people in this fight are working from.
What is ours is the cross-referencing: every mod, weapon, frame and arcane named here is linked to its own page on this site, with the figures we actually carry for it.
These numbers have not been verified in-game by us. Everything else on this site is either computed from the dataset we ship or read from a feed we can check; this guide is a summary of someone else’s fight knowledge, and it is worth knowing which of those two you are reading. The game build shown above is the one the site’s data was current for when this was written — not a claim that the fight was tested against it.